Using Microsoft Track Changes — Word 2010
Step 1:
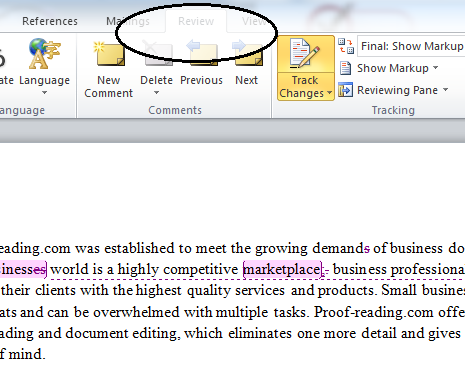
Open your document in Microsoft 2010 and locate the Review tab.
Step 2:
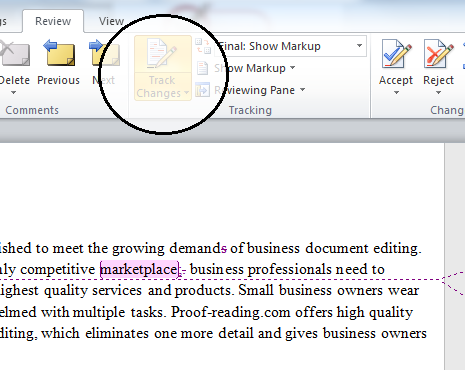
Locate the Track Changes icon at the top of the screen; be sure that Track Changes is disabled. If Track Changes is enabled, as in the screen shot below, be sure that you click the Track Changes icon to disable this feature before you proceed.
Step 3:
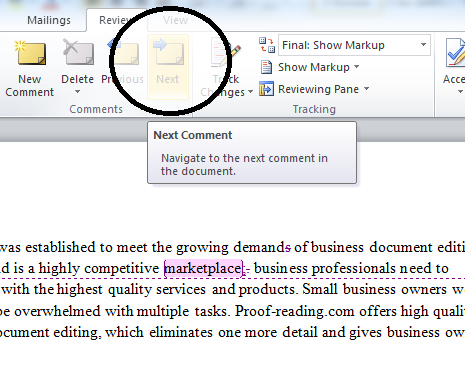
In the following screen shot, we have disabled the Track Changes feature. The next step is to place your cursor at the beginning of the document and click Next in the Changes panel. The cursor will then advance to the first proposed correction.
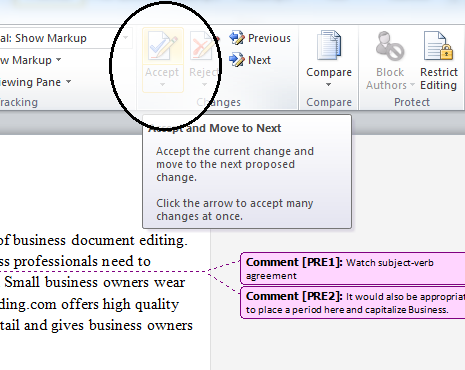
Step 4:
To accept the proposed change, click the Accept button. Once you click Accept, the change will be incorporated into the document and the cursor will advance to the next proposed correction.
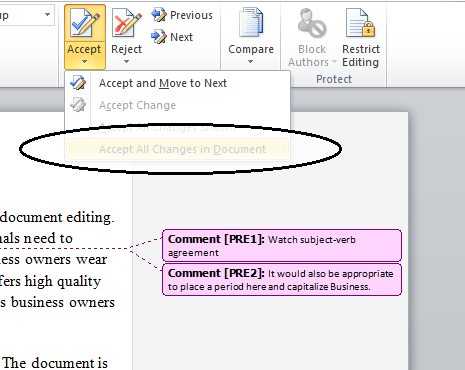
Tips:
To accept all changes in the document, click the dropdown arrow of the Accept button and select Accept All Changes in Document. Editor comments will need to be addressed separately.